Punch Out Of Prison Chapter 1: The Cell Walkthrough
Punch the cell walls, scout the escape tunnel, and unlock The Yard.
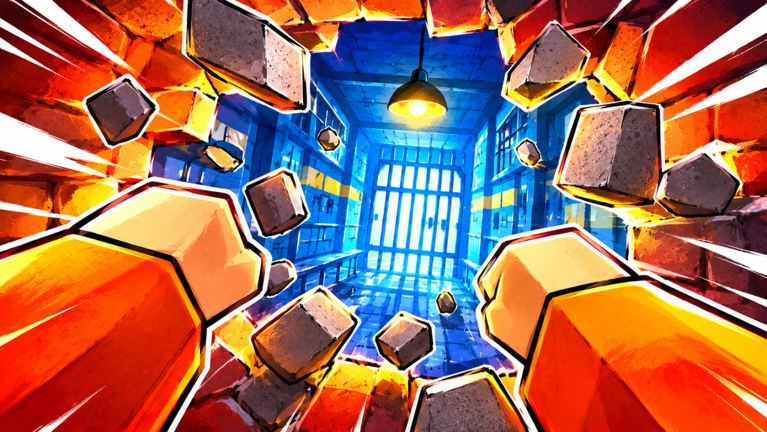
Chapter 1: The Cell is the starting escape in Punch Out Of Prison by zenixiope. You wake in a prison cell, punch wall cubes into rubble, sell at the crusher for cash, buy punch power, hole size, backpack, and helpers, then carve until the escape tunnel appears. One clear on any difficulty unlocks Chapter 2: The Yard. This page is the full Cell chapter walkthrough — objectives, tunnel scouting, difficulty, upgrades, Find Match notes, and common mistakes.
If you want the shorter day-one onboarding loop only, use Getting Started first, then return here when you are ready to clear the chapter cleanly. Keep Codes, Upgrade Priority, and How to Escape Fast nearby while you grind.
Chapter 1 objective
The Cell has one job: expand a hole through the prison wall until you find and finish the escape tunnel. Unlike The Yard (buried crate) or later chapters, there is no carry quest and no fight gear requirement. Success means:
- Break wall cubes into rubble with punches shaped by your hole size.
- Fill the backpack, sell at the crusher, and reinvest cash into the shop.
- Deepen and widen the cavity until the tunnel route is visible.
- Follow the tunnel out to complete the escape and bank gems.
That single escape — Easy, Normal, or Hard — is enough to open Chapter 2. You do not need a Hall of Fame time, Insane clear, or Find Match crew for the unlock.
Core Cell loop
Every productive minute in Chapter 1 follows the same circuit:
- Punch — Face the brick face and break cubes. Hole size controls how wide each hit clears; punch power controls how soft thick blocks feel.
- Fill — Stop when the backpack is full. Over-punching with a full pack wastes hits.
- Crush — Walk rubble to the crusher and sell for cash in one dump.
- Upgrade — Buy something useful after every sell until the tunnel is close. Unused cash does not dig.
- Scout — Between sells, look deeper into the cavity for tunnel cues instead of only widening the first face.
There are 13 hole shapes. Early on, pick a shape that feels comfortable for clearing a forward tunnel rather than a decorative crater. Shape choice matters less than raising hole size and backpack ranks, but a forward-biased shape helps you scout depth faster. Full shop order lives on Upgrade Priority.
How to scout the escape tunnel
New players often grind the same outer face for minutes and wonder why nothing unlocks. The Cell escape is a depth problem:
- Open a workable cavity with early hole size so you can see into the wall.
- Push forward and slightly down or center rather than only sideways along the starting bricks.
- After each backpack dump, return to the deepest face you have reached — not always the brightest outer edge.
- Watch for layout changes that signal the tunnel path: a clearer corridor, different block density, or an opening that continues past the decorative cell wall.
- Once the route is obvious, stop buying luxury shop ranks and commit cash to finishing the last stretch.
If the cavity feels wide but shallow, you are farming aesthetics. Re-center on depth. Helpers help here: hire a cheap helper when crusher walks are long enough that passive digs keep the deepest face moving while you sell.
Upgrade focus for The Cell
Chapter 1 spends are simple compared with later chapters:
- Hole size early — Wider punches clear more cubes and reveal tunnel depth faster.
- Backpack next — Tiny packs mean constant crusher trips and stalled scouting.
- Punch power — Raise it when cubes take too many hits relative to your hole size.
- Helpers — Buy when travel time is long enough that idle digs matter.
- Gym — Slip in permanent training between escapes once the first clear is done.
Spend gems from escapes (and from Codes redeemed via Rewards / R) on gloves, hit effects, classes, and emotes. Check the Tier List and Players hub before dumping gems into cosmetics. Crusher cash still clears the chapter; gems build the long-term loadout.
Difficulty, Insane, and Hall of Fame
Chapter 1 offers Easy, Normal, and Hard. For your first unlock of The Yard, pick Easy or Normal. You want the chapter clear, not a pride run.
- Clearing a chapter on Hard unlocks Insane for that same chapter.
- Insane pushes the escape wall much farther and is a practice goal after you know the tunnel route.
- Hall of Fame boards track fast times, but they are optional. A slow Easy escape still unlocks Chapter 2.
When you are ready to shave minutes, move to How to Escape Fast for shop pacing, helper timing, and crew habits. Do not jump to Hard or Insane before hole size, backpack, and at least one helper feel automatic.
Find Match on Chapter 1
Find Match (crews of up to five) is optional for The Cell. Solo clears are realistic and common. Use Find Match when you want:
- Shared punch pressure on the deepest face
- One player running crusher trips while others stay on the wall
- Faster gem farming after the first unlock
You do not need a crew to open The Yard. Save coordinated roles for chapters that punish solo more, and keep Chapter 1 as your practice map for the punch → crush → upgrade rhythm.
Codes, gems, and post-escape setup
Before a long Cell session, open Rewards and redeem every working string from the Codes page. Codes are case-sensitive and expire after milestones. Early gem grants accelerate gloves that make later Hard clears smoother, but they do not replace hole size and backpack cash spends.
After your first Cell escape:
- Confirm Chapter 2 is unlocked and open Chapter 2: The Yard for the buried crate → gate objective.
- Revisit Upgrade Priority so Yard helpers fit your next spend plan.
- Skim the Guides hub for Sewers and Sea when those unlocks appear.
- Replay Chapter 1 on a higher difficulty later if you want Insane practice or Hall of Fame attempts.
Common Chapter 1 mistakes
- Treating Getting Started as the whole chapter — Day-one tips get you punching; this walkthrough is what finishes the tunnel and unlocks The Yard.
- Wide shallow holes — Sideways farming looks productive but delays the escape path.
- Hoarding cash — Buy after every sell until the tunnel is close.
- Ignoring backpack — Huge hole size with a tiny pack wastes half the session walking empty.
- Skipping codes — Free gems and boosts are the easiest early advantage.
- Hard too soon — Unlock The Yard first; Hard and Insane wait until the route is known.
- Chasing Hall of Fame before the unlock — Times are optional; one any-difficulty escape is the real gate.
Finish one clean Cell escape on a comfortable difficulty, bank the gems, and move into The Yard. Chapter 1 teaches the entire economy of Punch Out Of Prison — once the crusher loop and tunnel scout click, every later chapter is a variation on the same discipline.
Frequently Asked Questions
Quick answers to the most common Punch Out Of Prison questions.
How do I unlock Chapter 2 The Yard from Chapter 1?
Escape The Cell once on Easy, Normal, or Hard. Any difficulty counts. You do not need Insane or a Hall of Fame time.
What is the Chapter 1 Cell objective?
Punch wall cubes into rubble, sell at the crusher, buy upgrades, and expand the hole until you find and finish the escape tunnel.
How is this different from Getting Started?
Getting Started is day-one onboarding for the crusher loop and first session. This page is the full Chapter 1 Cell walkthrough covering tunnel scouting, difficulty, mistakes, and the Yard unlock.
Do I need Find Match to clear Chapter 1?
No. Find Match is optional. Solo Cell clears are common. Use crews when you want shared digs or faster gem farming.
How do Hard and Insane work on The Cell?
Clear Chapter 1 on Hard to unlock Insane for that chapter. Insane pushes the escape wall farther and is best after you know the tunnel route.
Where do codes and gems fit in Chapter 1?
Redeem codes in Rewards (often R). Escape gems and code gems buy gloves, classes, hit effects, and emotes. Crusher cash still funds punch, hole, backpack, and helpers.